Reports & Data
Reports
The Report tab turns the live planner state into branded project documentation for site teams, clients and project records.
Purpose of the Report tab
The Report tab creates documentation from the current project state. It uses the project information, workspace branding, power sources, distros, output schedules, equipment, notes and load calculations already entered into the planner.
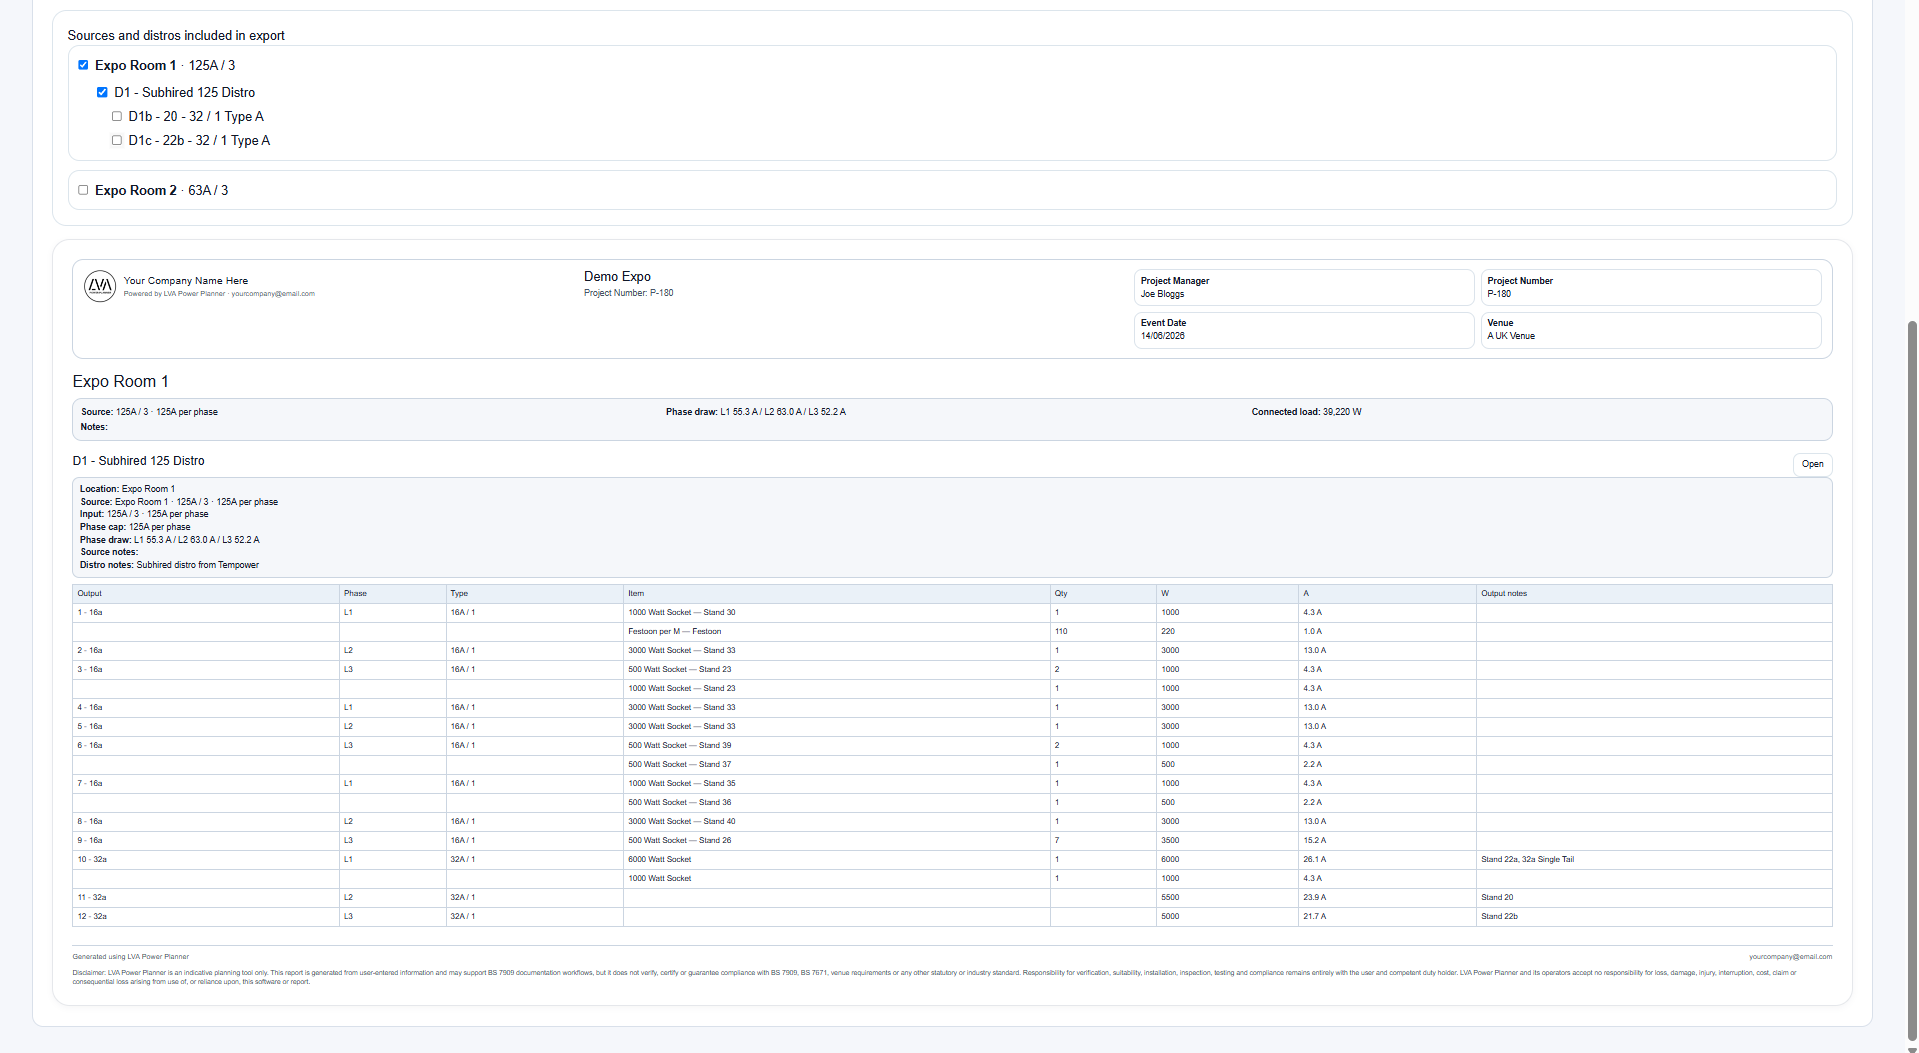
The report preview mirrors the export layout so users can check content before generating a PDF. Reports should be reviewed as a professional deliverable, not treated as an automatic approval.
The report is only as accurate as the project data entered into the planner. Always review source assignments, equipment quantities and warnings before export.
Project and branding information
Report headers use the project information entered in System Overview, including project manager, project number, project name, event date and venue. Workspace branding can also supply company name, logo, contact email and footer text.
For best results, complete project information before exporting. Missing fields are omitted from the report rather than being filled with placeholder text.
- Project name becomes the report title.
- Project number appears in the report metadata when entered.
- Company logo and contact details come from workspace branding.
- Distro and output notes appear in the relevant report sections.
Choosing what appears in the report
Included Sources & Distros contains a compact checkbox dropdown for choosing what appears in the current export. Hiding an item from the report does not delete it from the project; it only excludes it from the generated documentation.
The same collapsible section counts each power-source and assigned-distro type used in the project. A separate message identifies unassigned distros that are excluded from those connected-system totals.
This is useful when issuing focused information to a department, supplier or site team without changing the main project design.
Hide unrelated sources or distros when creating a report for one area, but keep the full design available in the project.
Live view-only report links
Create View-Only Link generates a secure external URL near the report export controls. Anyone with the active URL can view the live Report tab output without changing the project or signing in.
The view is live: changes saved by an authorised planner user appear through the same link. Select an expiry date up to three months in the future, or generate a replacement link when the previous URL must be invalidated.
Any authenticated user who has access to the project can create and manage its view-only report link.
Only share the URL with intended recipients. Replacing the link terminates access through the previous URL.
Show all outputs
By default, reports focus on outputs that contain equipment, notes or linked downstream distros. The Show All Outputs option includes unused outputs as well, which can be useful for full distro schedules or pre-production patch planning.
If the report becomes too long, hide unused outputs again and include only the circuits that carry relevant information.
Export PDF
Export PDF opens the report in a printable layout ready to save as PDF using the browser print dialogue. The report is designed for A4 portrait output and includes the relevant source and distro sections selected in the Report tab.
Before saving the PDF, check the browser print settings so page size, margins and background graphics are appropriate for your output.
- Open the Report tab.
- Confirm project details and source/distro selections.
- Review the preview for obvious omissions.
- Select Export PDF.
- Use the browser print dialogue to save or print the report.
Individual distro reports
Export Distro Reports generates separate pages for individual selected distros. This is useful for sending a local distro schedule to a crew member, department lead or supplier without including the entire project report.
Individual distro reports still use the same project and branding information, and they include the selected distro output schedule, notes and load summary.
Individual distro reports are useful as local working documents when a crew member only needs the schedule for one distro or area.
Before issuing reports
Before issuing a report externally, review System Overview and the Report preview. Confirm that all relevant sources are included, all required distros are visible, notes are complete and no unresolved critical warnings remain unless they are intentionally documented elsewhere.
The report includes a disclaimer stating that LVA Power Planner is an indicative planning tool and does not certify compliance. Competent review remains required.
Critical warnings indicate conditions such as overloads. Resolve or formally review them before reports are sent to clients or site teams.
Related articles
Send feedback or request extra documentation for this topic.