Planning Workflow
Distro Overview
Distro Overview is the control point for adding distros, assigning them to compatible sources and reviewing their load state before detailed editing.
Purpose of Distro Overview
Distro Overview is where the distribution layer of a project is created and managed. It sits between Power Sources and the Distro Editor: Power Sources define what is available, Distro Overview defines which distribution units are in the system, and the Distro Editor defines what is connected to each output.
Use this tab to add distros from the company library or from project-specific custom templates, assign each distro to a source, review its phase loading and open the detailed editor when required.
Build the basic source and distro hierarchy here first, then use the Distro Editor for output-level equipment assignment.
Adding a distro
Select Add Distro to open the table-style creation window. Add one or more rows, choose each distro model, and enter its project name, location and optional source assignment before confirming the batch.
The model list includes workspace-library distros and custom distros created within the current project. Each added row becomes its own project instance without modifying the underlying template.
- Open Distro Overview.
- Select Add Distro.
- Add a row and choose the required distro model.
- Enter its project name and location.
- Choose a compatible source or leave the source blank.
- Add and reorder further rows where required, then confirm.
Use practical labels such as Stage Left, FOH, Video World, Dimmer Beach or Catering rather than only repeating the distro model name.
Assigning sources
Each distro can be assigned to a compatible manual power source or Auto Source. The source list is filtered so incompatible connector types are not offered and a source already feeding another distro is not accidentally duplicated.
If a required source is missing from the dropdown, check the source connector type, whether the source is already in use, and whether the intended downstream feed has been created from a suitable output.
- Single-phase distros must be fed from compatible single-phase sources.
- Three-phase distros must be fed from compatible three-phase sources.
- High-current three-phase Powerlock-style sources may cap a larger distro to the upstream source rating.
- A distro cannot be assigned to one of its own downstream outputs.
Reading distro cards
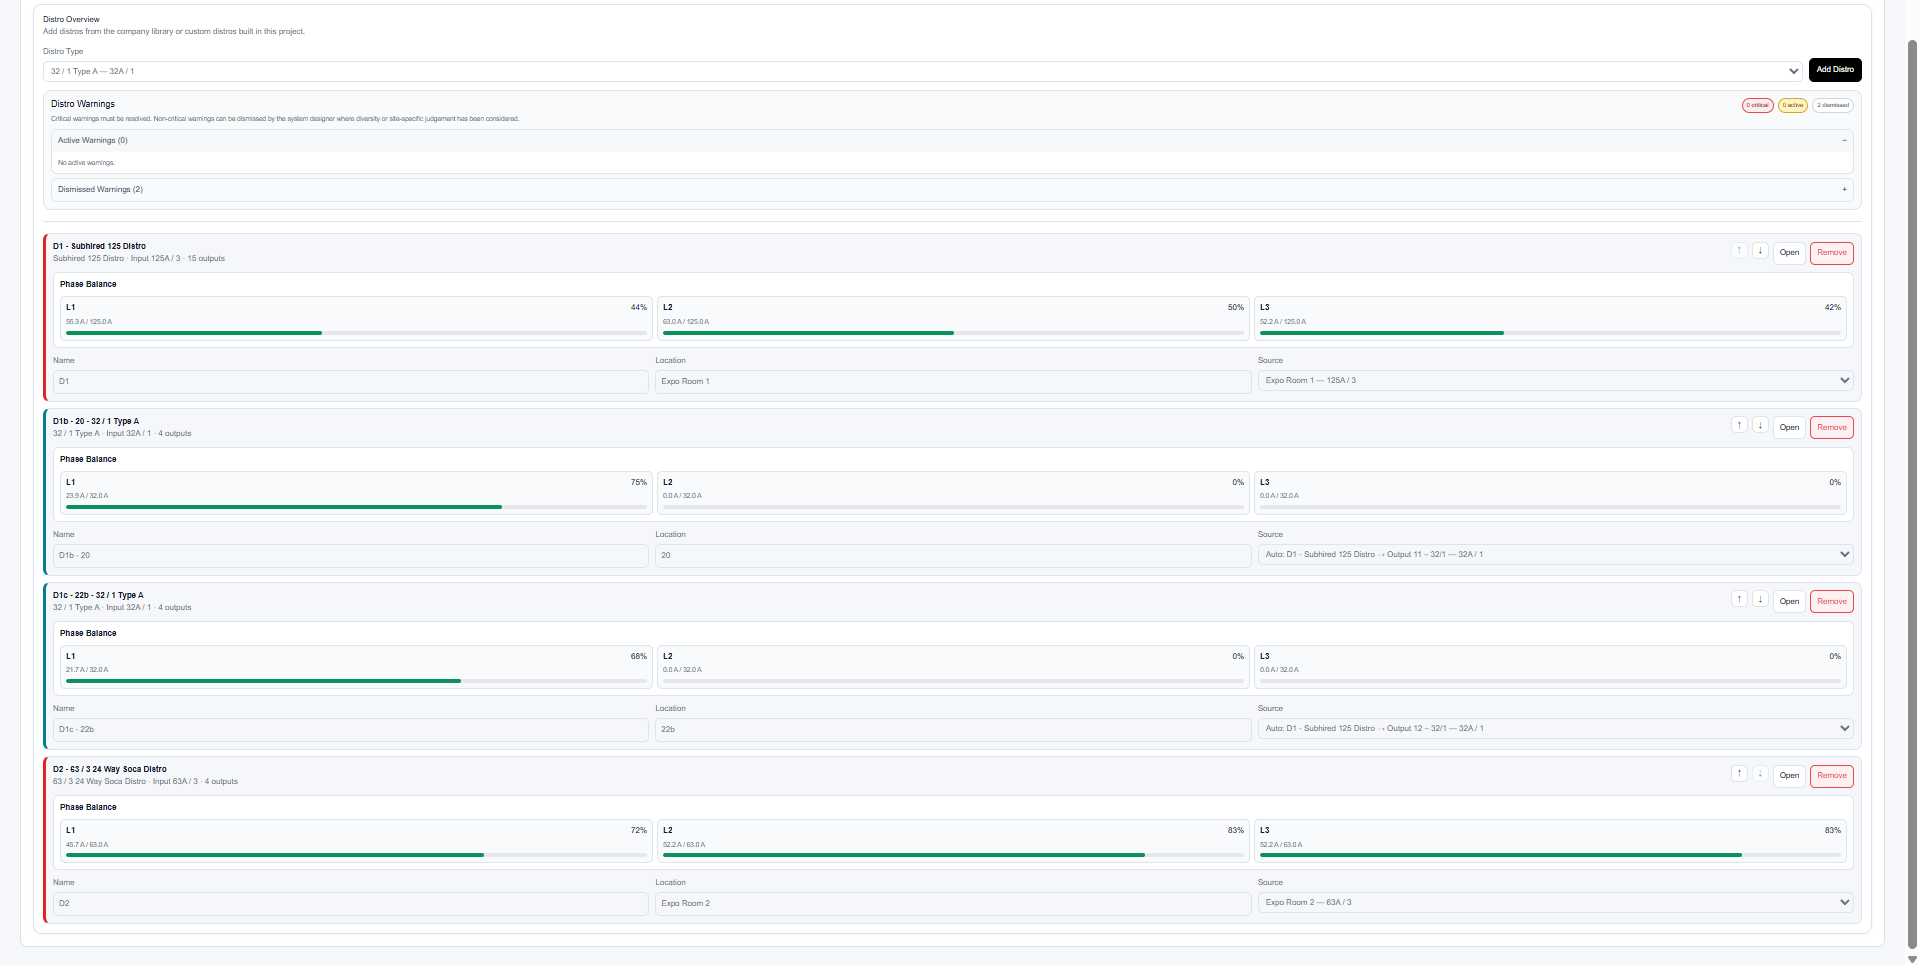
Each distro card summarises the distro instance, physical input, number of outputs, source assignment and phase loading. Cards are highlighted when warnings or critical issues are active for that distro.
Distros load collapsed. A collapsed card retains the name, model, output count and source, and includes Open before the reorder controls so the Distro Editor can be reached without expanding the card. Use Expand all and Collapse all for the complete list.
After adding several distros, pause on Distro Overview and confirm every distro has the expected source before assigning equipment.
Reordering and removing distros
Use the up and down controls to place distros in a logical order. This helps the overview and report read naturally, especially on larger projects with multiple areas or departments.
Removing a distro deletes it from the project. Any equipment, notes and downstream assignments on that distro are also removed, so remove distros carefully once a design has been developed.
Export a project backup before removing large sections of a developed distribution system.
Related articles
Send feedback or request extra documentation for this topic.